Version: v1.0
Users
What is the main Purpose
Inside this page, you will be able to control and monitor all users that do have access to your system and data. Additionally, it is also here where you can add and remove users to your system.
Prerequisites
Before starting managing or adding any users to your system, we recommend that you define all the different roles in your system, as well as defining all the rights that each type of user shall have.
Overview

Video Tutorial
Administrator Guide
In this section, you will find all the technical and critical information concerning the user management of our system.
User name and email importance
Extractional gives a lot of importance to teh username and specially to the user's email. For our system, the email needs to be unique for each one of the users, so always make sure that each email is only used once during the lifetime of the software. The lifetime of the software also includes deleted users.
How our system deals with deleted users
In our system, we do not completly remove any user. The reason behind this is to keep the records from all validations that each user has handled.
By always keeping the user's information, you will always be able to identify each validation's assigned person.
Important
We do recommend to only set the user to inactive if you are still not certain if you will need to reuse user in the future. All inactive users will not be able to enter the system.
User Characteristics
There are two main types of user characteristics. There are characteristics that will only serve to identify the user, and there are characteristics that will also define if the user has permission to use the system and what their permissions are in the system.
During the following paragraphs, we will only focus on the characteristics that affect how the user will be able to use the system.
Status
Indicates the current state of a user's account or session within the system. Our system provides the following options for state:
-
ActiveThe user account is fully enabled and has access to all features. -
InactiveThe account is currently disabled or deactivated. The user cannot access the system until reactivation. -
Confirm PasswordThe user must confirm or reset their password before gaining full access -
Payment RequiredThe account is temporarily restricted until outstanding payments are completed.
Depending on the status of someone, he will have the rights to use your system or not. Additionally, the system will automatically change the status of the user depending on the situation but if you have the rights, you can always change an ACTIVE user to be INACTIVE if you would like to remove the access from that user to the system.
Role
This characteristic will define what the user will be able to manipulate/visualize in the system. Our system already comes with four predefined roles: Superuser, Admin, Creator, and Validator. However, you can always create more roles in the system as well as define what each role's rights are. More information on defining roles is available at the following link.
Main Functionalities Overview
In this section, you will receive an explanation of how to use each functionality of this page.
Important
Please be aware that only users with the respective rights can create or modify users.
Adding a new user into the system
In this part, you will learn to add a new user to the system. To do so,
you first need to be located on the Users' main page. If you are not in
the main Users page, please click on Users text field on the main
Navigation bar on the top of the screen followed by clicking on the
Users inside the Users page.
Now that you are on the right page, you should click on the plus icon at the bottom of the page to trigger the system to add a new user. To help locate the plus icon, the following picture will help you visualize what this icon looks like:
![]()
Once you have clicked on the plus icon, you will be redirected to a form that will need to be filled with all the information of the new user that you would like to add.
Once all the information has been added to the form, you only need to
click on the Submit button that is located at the bottom of the
page, and an invitation link will be added into the new user's e-mail.
Accepting the invitation
FEATURE STILL IN DEVELOPMENT
Editing some user's information
In this segment, you will learn how to change some user's information.
To begin, you will need to locate the user from whom you would like to change the information. Once you have found the respective user, you will need to click on the edit icon to be redirected to the edit page of that user. The edit icon should look like this on your system:
![]()
Once you have entered the edit form of the desired user, you will be presented with all the current user's information in different boxes, and you will now have the possibility to change the information from each box. To change the information in each box, you need to click on each box and either manually change the information in the box or choose one of the options shown (depending on the box).
Once you are satisfied with your choice, click on the Submit button
located at the bottom of the page, and all the changes just made will be
saved. In addition, if you do not want to save the changes that you have
made, you just need to click on the back button at the bottom of the
page.
Deleting one of the users
In this short section of the manual you shall learn how to delete a user.
Important
Please be aware once you have deleted one user, you are basically setting their status as inactive. You can always activate an inactive user in the system.
To remove one of the users from the system, it is as simple as clicking
on the delete icon  that can be found at each user identity and confirm
your choice.
that can be found at each user identity and confirm
your choice.
Note
If you ever need to reactivate a deleted user from the system, you will need to enable the inactive user(s) view from the table followed by entering in the edit window for the respective user.
Once you have entered the edit user window, it is as simple as setting the user status to active again.
Viewing Users Login history
Besides managing all users on your system, you can also see all the log-in history of your system. This can be helpful in order to make sure that you only have that people that you desire entering your system.
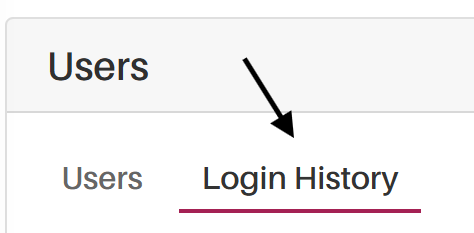
In order to visualize all the login history within your system, you will
need to click on the Login History tab that is located at the top of
the User main page. To help you find the Login History tab, take
advantage of the following image.
Once you entered the following page, you will be able to see the login history page that should look something like this.
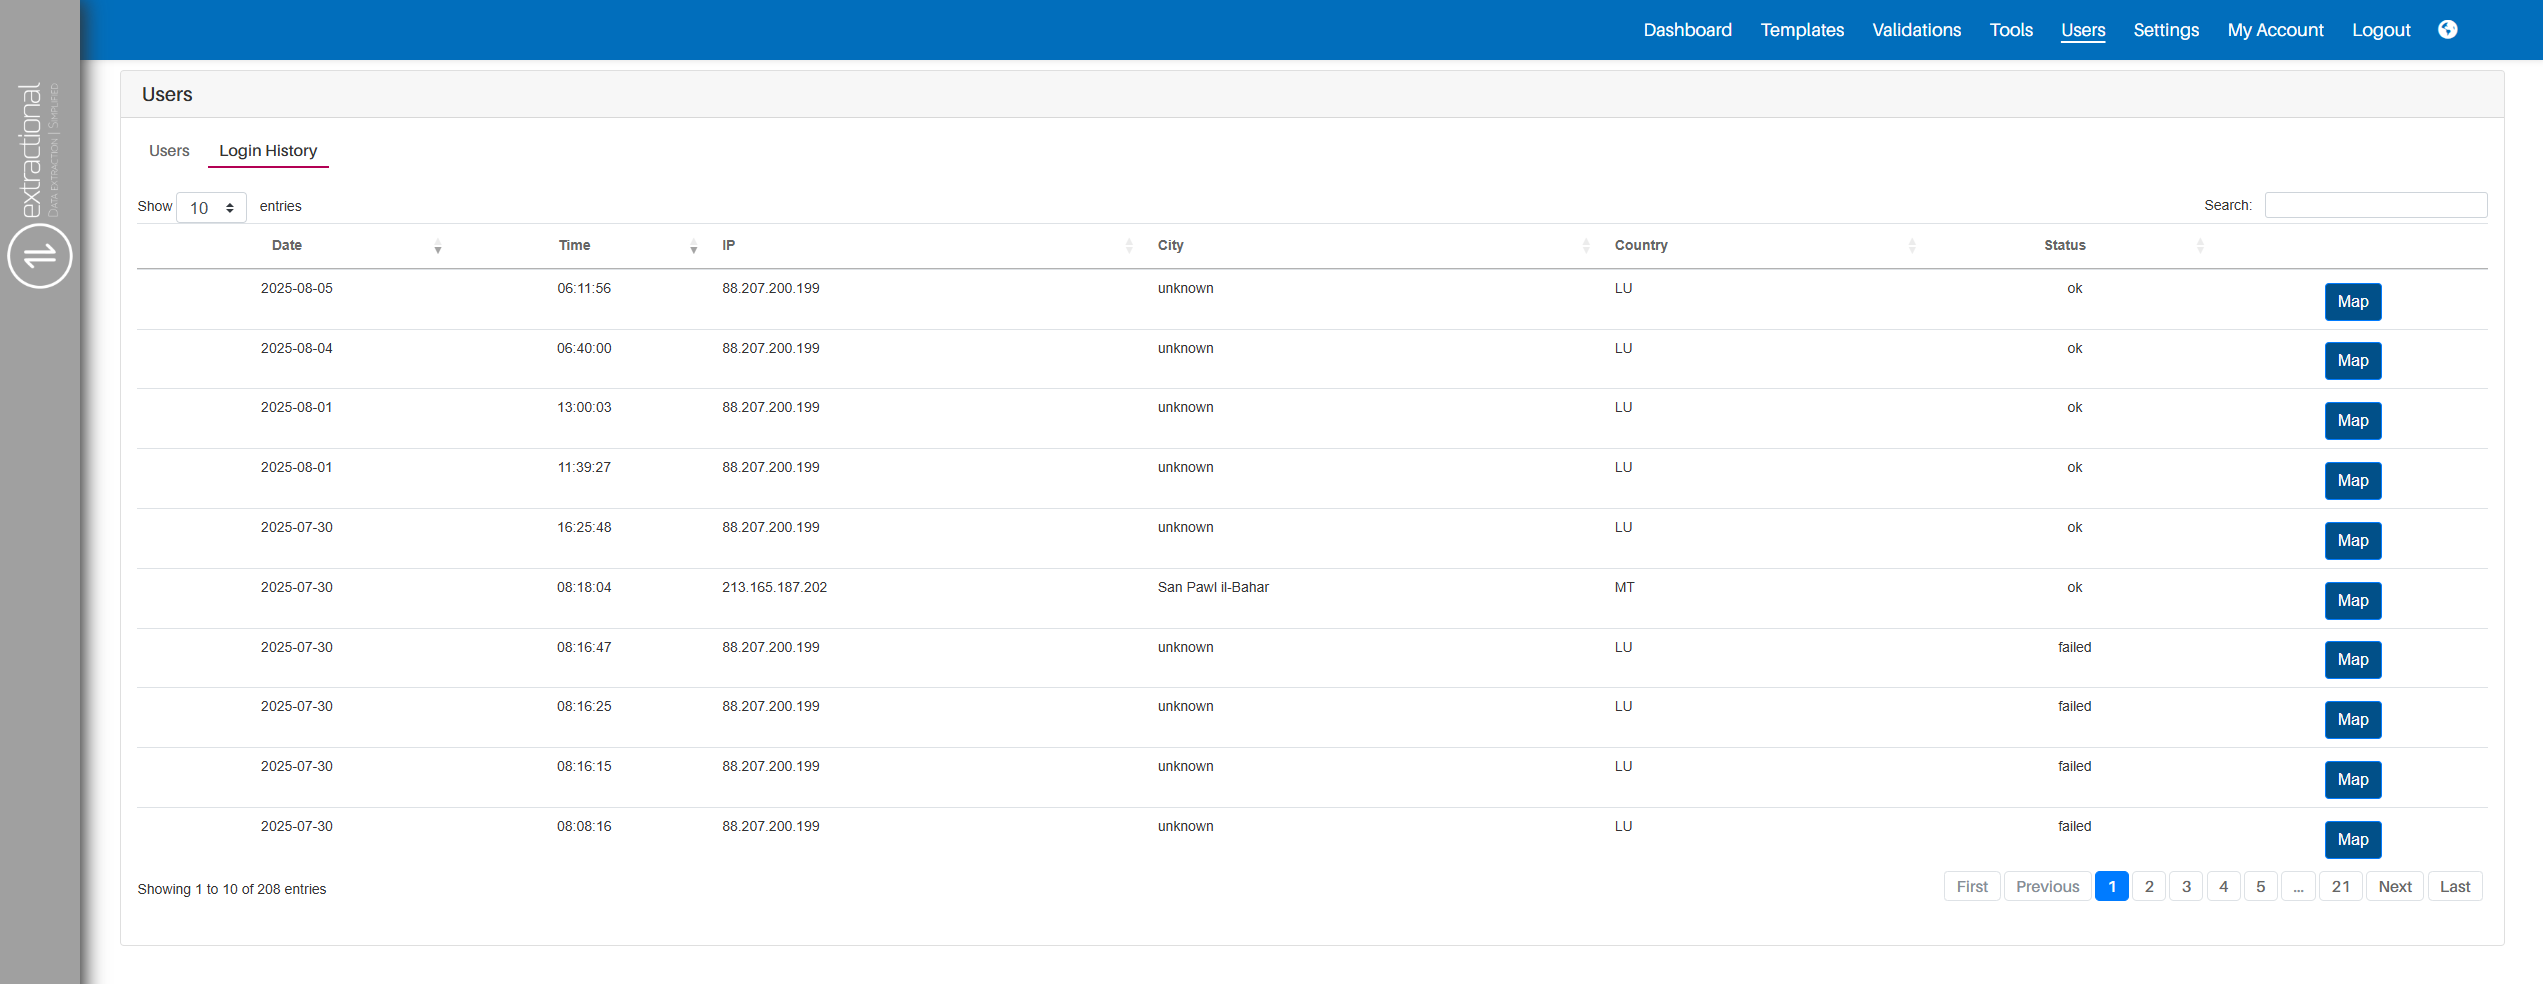
In this page you will be able to visualize all the login tries that have been made into your system as well as some additionnal information of each login attempt (City, country, Status...).